
BOW DRILL FIREMAKING

Fire is one of the most important skills of any survivalist. Generally, it’s recommended to carry a few different tools to produce fire. But what if you’re caught in a bad situation without your tools? Could you start a fire with just a knife?
Today we will be discussing the Bow Drill Friction Fire method. It's one of the easier methods of primitive fire. Although it’s not easy, it requires the proper components and the right technique to produce an ember. With that, there are many variables that go into the bow drill and truly any other method of primitive fire starting. In wet conditions its extremely difficult. For that reason I would not recommend relying on any friction fire method; always be prepared with a proper fire kit as we’ve covered in past issues.
Usually the bow drill requires two man made elements- a knife and cordage. You can fashion both of those in the field but that requires a whole other set of skills and is considered highly advanced in the survival community. Most likely if you have a knife and cordage, you will also have a fire starting device. The bow drill is good to practice, great to master, but bad to rely upon. It will, however, teach you to make fire with the bare essentials, enhancing your abilities to make fire with modern conveniences.
Even though this is one of the "easier" friction fire methods, it requires the most components. These components have to be made and require some basic carving techniques.
Lets cover the main components starting off with the two modern tools:
Knife- a good knife will make putting together a bow drill set much easier. I prefer a full-tang knife for wilderness use (Although you can make a bow drill kit with a Swiss Army Knife if you had to). There are techniques that you can make a kit without a knife- like the "two stick" method
Cordage- I like to use 550 cord, because I always have it on me. You can also use your bootlaces. PRO TIP: swap your bootlaces out for 550 cord. It is stronger than bootlaces and won’t break mid-hike. Some like to do it "all natural" by making their own cordage. The Native Americans used strips of deer hide for their bowstring.
Natural Materials:
Bow- the bow needs to be a strong piece of wood with a slight curve. It needs to be armpit to wrist length for best results. This is the easiest component to make.
Fireboard (Hearth)- The fireboard is best made by batoning a piece of desired wood into a plank measuring around 3/4" thick (best practice-don’t let it be much thicker than your spindle). It needs to be long enough for you to get your foot on to hold it in place without disturbing the divot. For best results, the fireboard needs to be constructed from the same wood as your spindle. To ensure the densities are the same. You will want a medium density wood (not too soft, not too hard). A good indicator is pushing your fingernail in the board to see if it will imprint a mark. Like your spindle, the fireboard needs to be extremely dry.
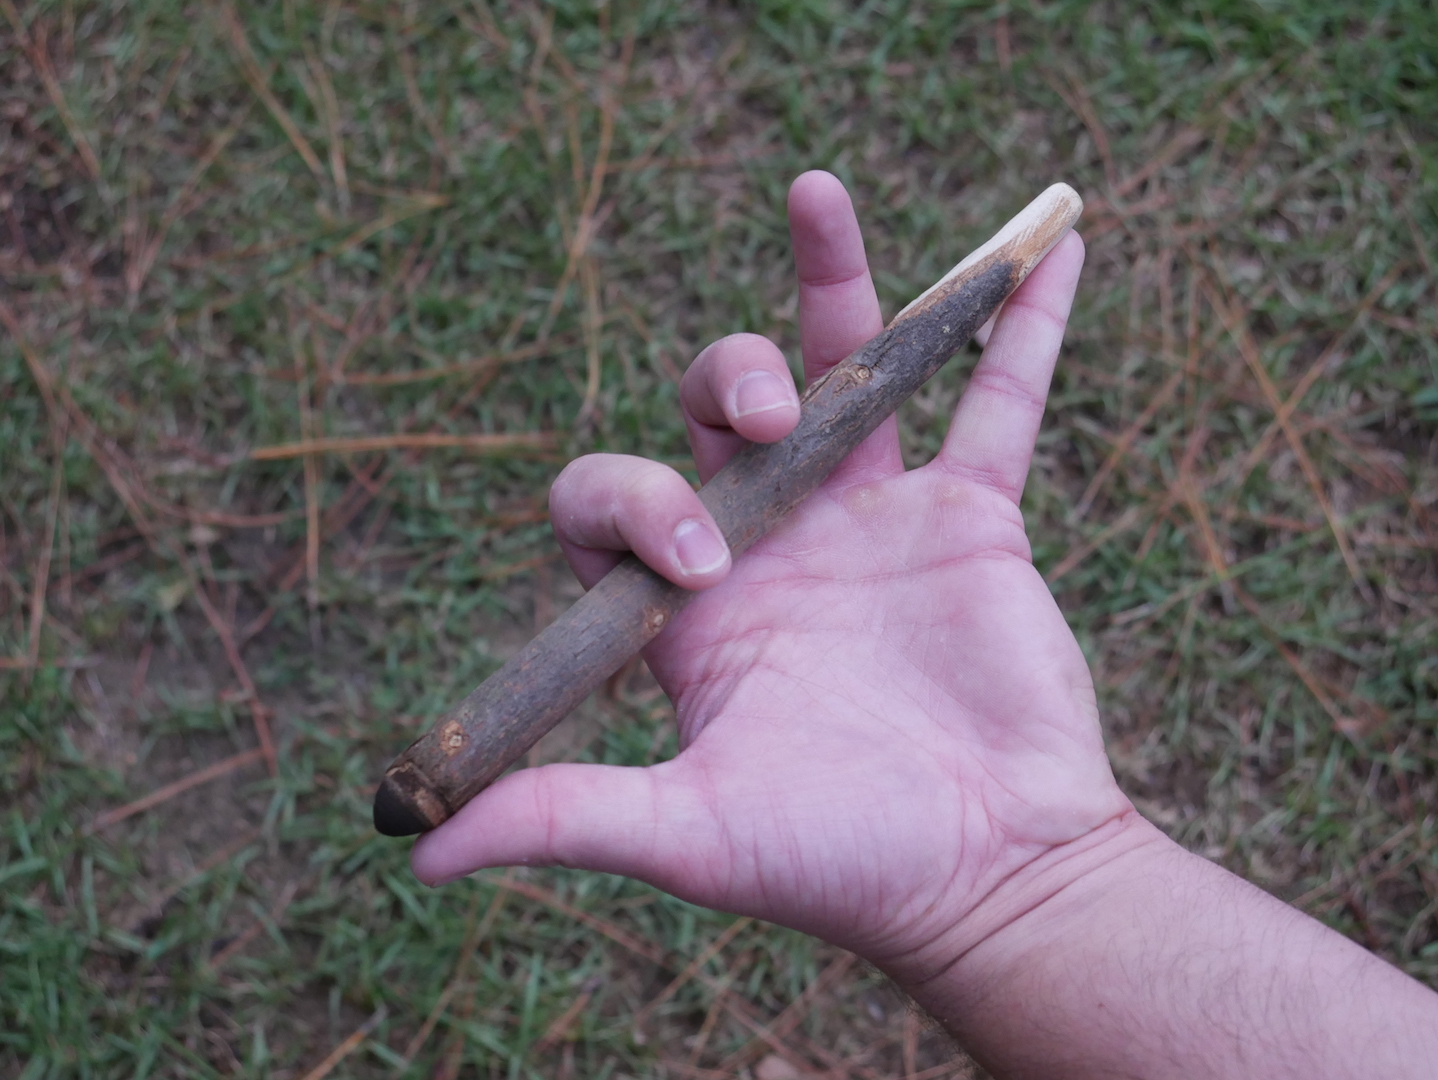
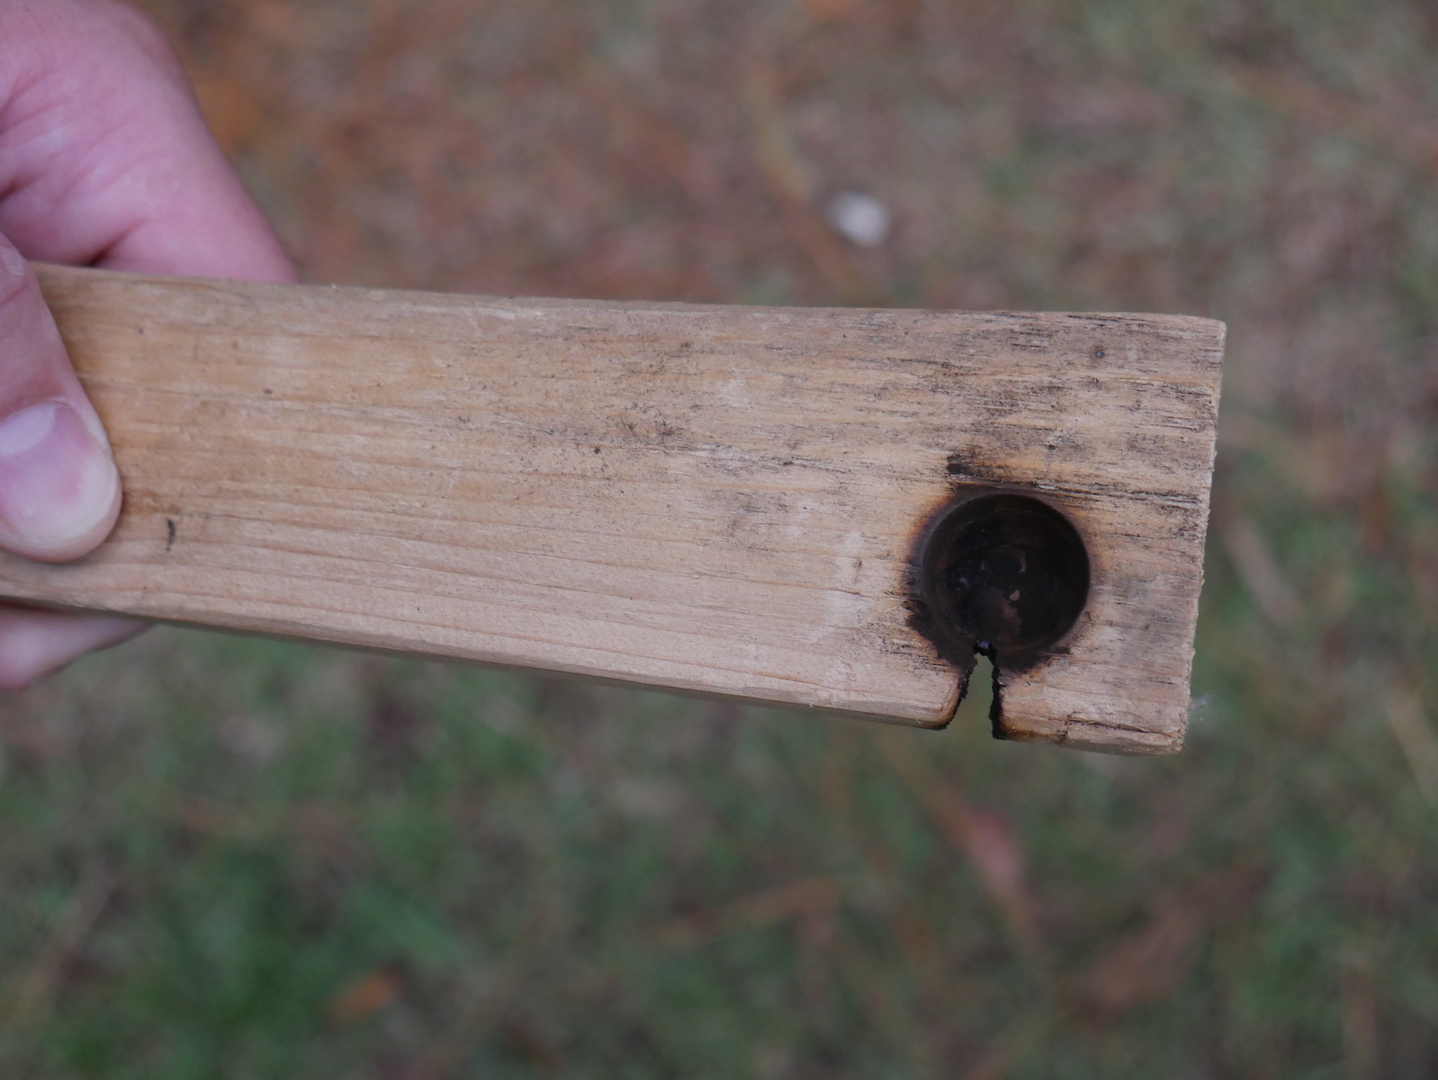
Spindle- Your spindle should be about the size of your thumb. I like mine to be a little wider to increase the friction. The length should be from the tip of your thumb to the tip of your pinky finger (like the hang ten surfer symbol). One side needs to be tapered with a point to decrease friction. The pointy end will go in the hand socket. The other end will need to be a dull fat point; to increase friction. Again this will need to be extremely dry for best results. (Photo A)
Handsocket- My survival knife has a bow drill divot in the handle. This makes one less item I have to create. You can use other items such as bone, shell, stone, or a piece of hardwood. I like to lubricate the hand socket to decrease friction. You can use items such as a green leaf, pinesap, Vaseline from your tinder balls, suntan lotion, and even oils from your face.
Coal Catch- You can use a dry leaf, piece of cardboard, or a chip of wood. Make sure it’s dry as to not suck the heat from your ember.
Tinder (a.k.a Birds Nest)- A tinder bundle can be created from a variety of materials such as dry grass, bark, and jute twine. It needs to resemble a birds nest and be extremely dry and fluffy. Cedar bar, Poplar inner bark, Dandelion, Cattail tops, are a few natural materials that work great. Did I say it needs to be dry?
After you have your components, you will then need to follow these techniques:
1.Carve a small divot into your hearth board. On one side about a ½’-3/4’ inch from the board edge.
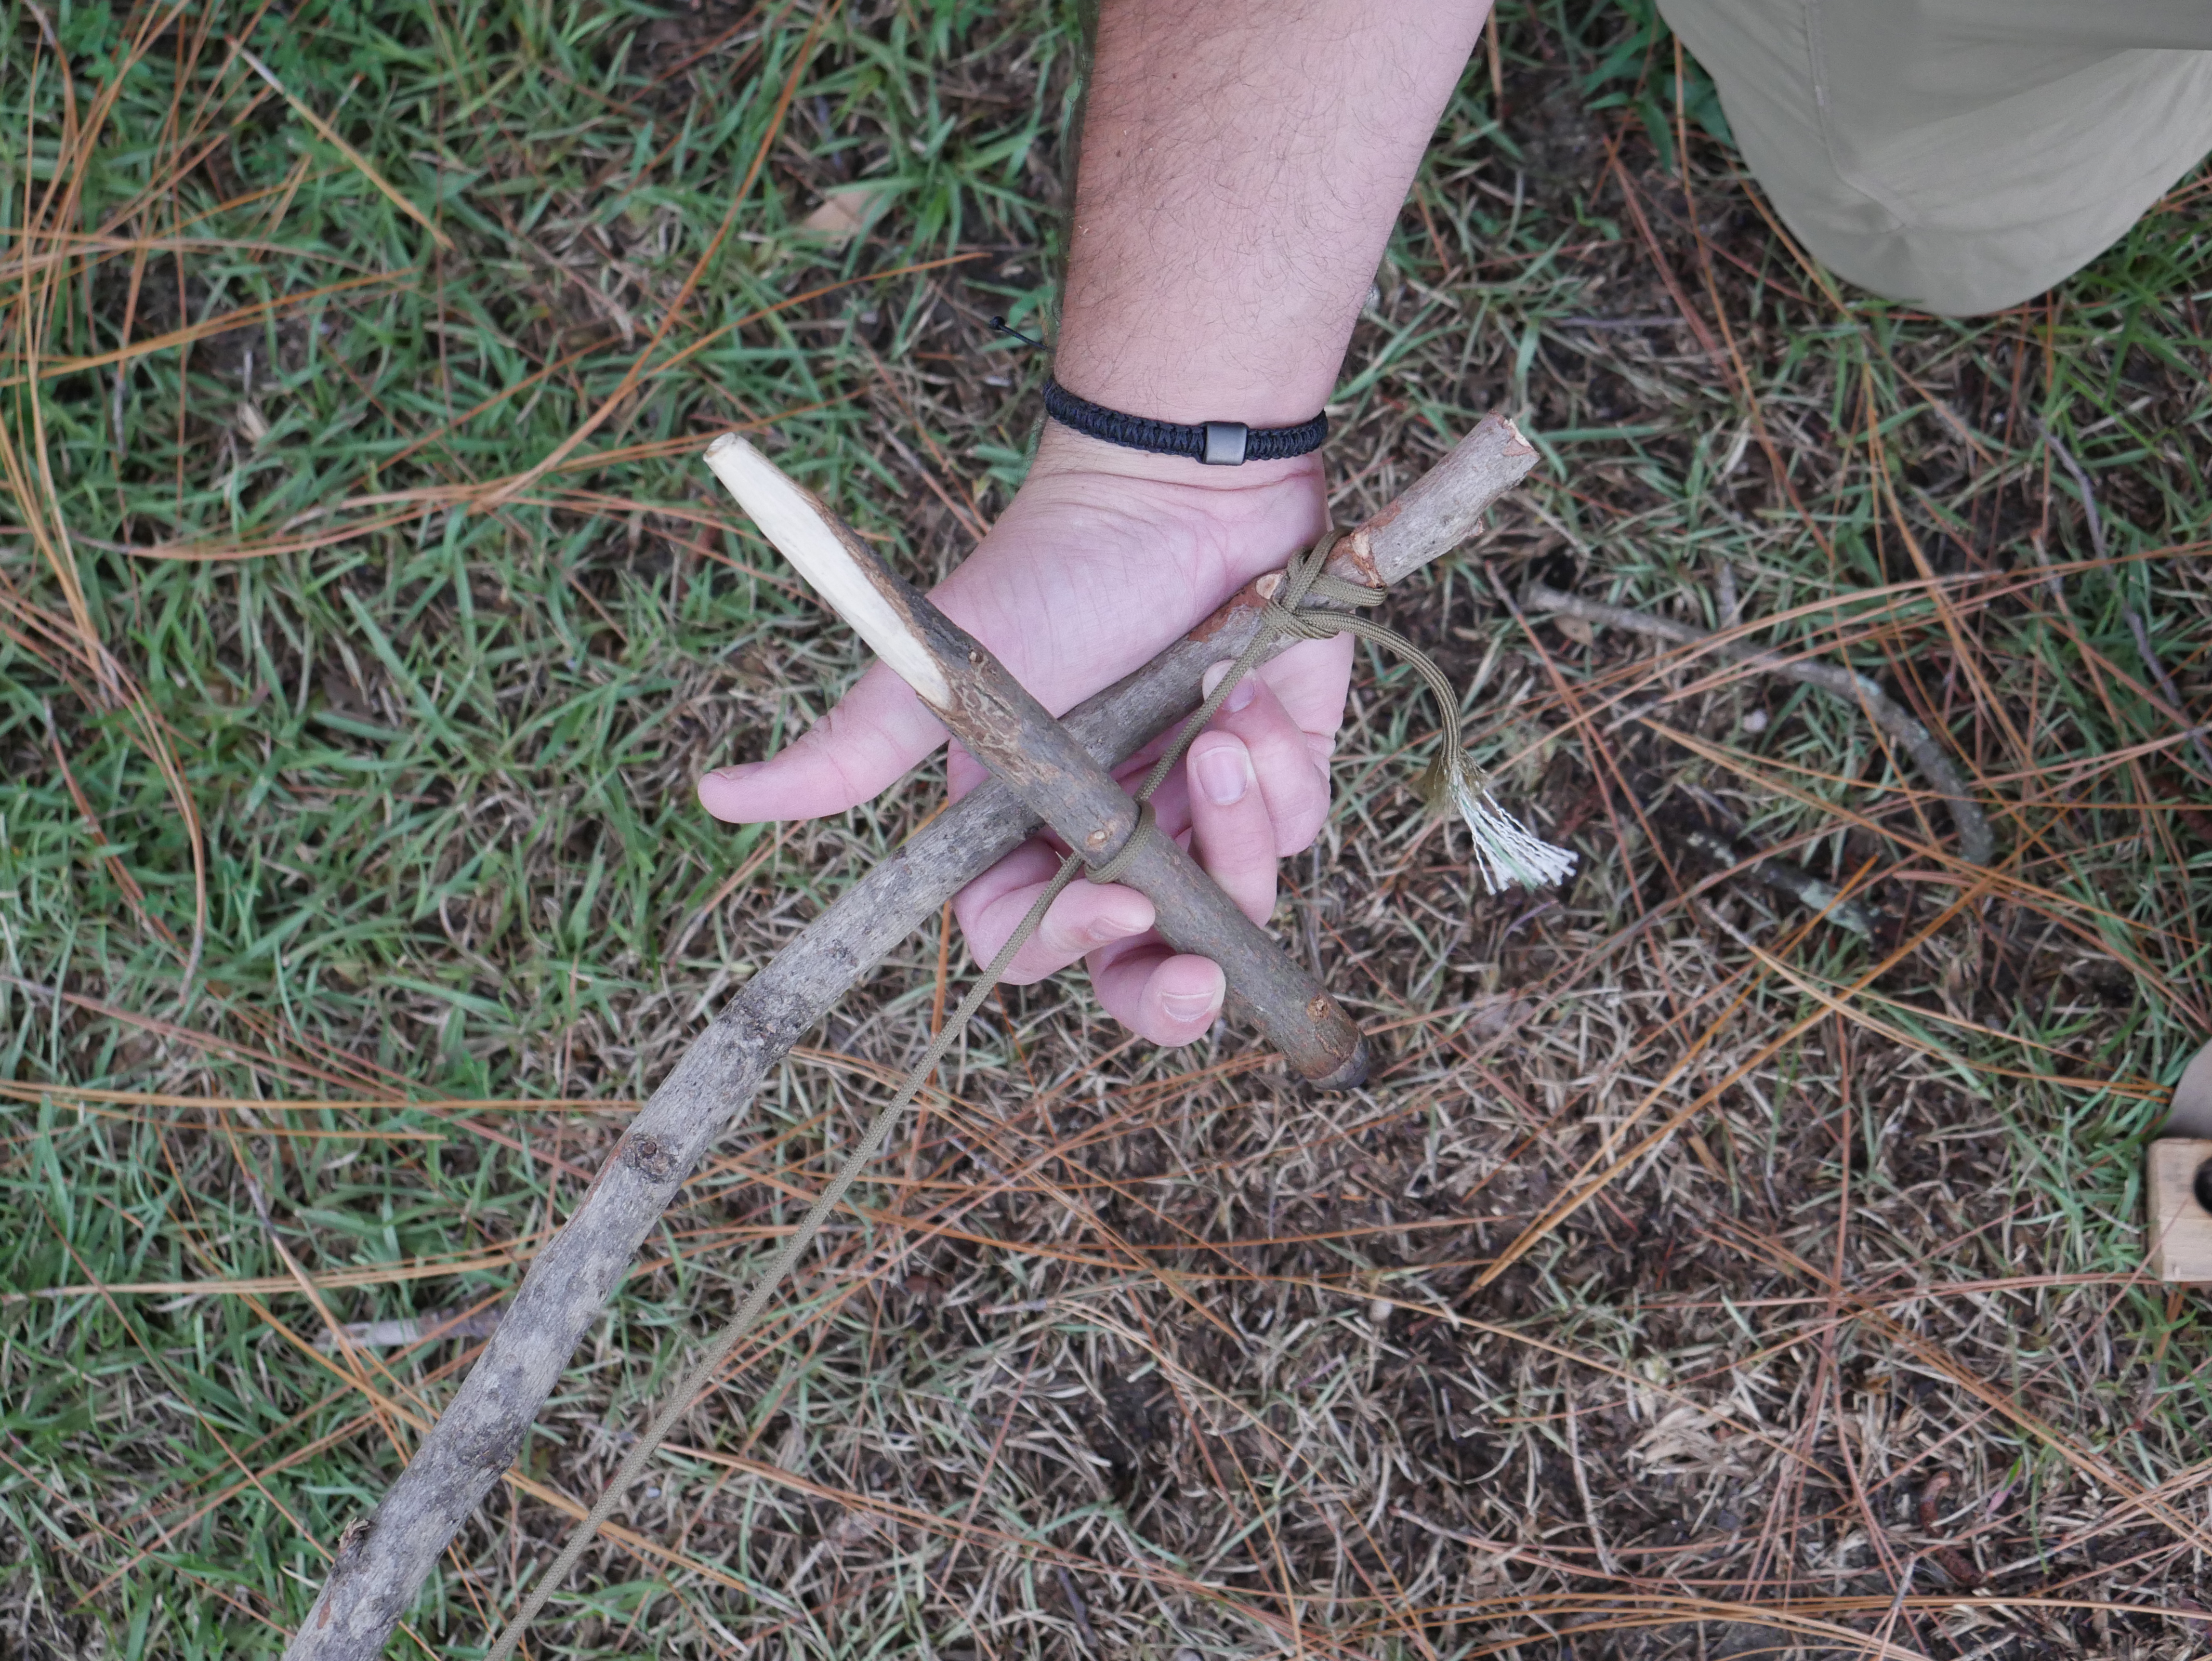
2.Wrap your spindle into the bow ensuring it’s on the outside of the bowstring.
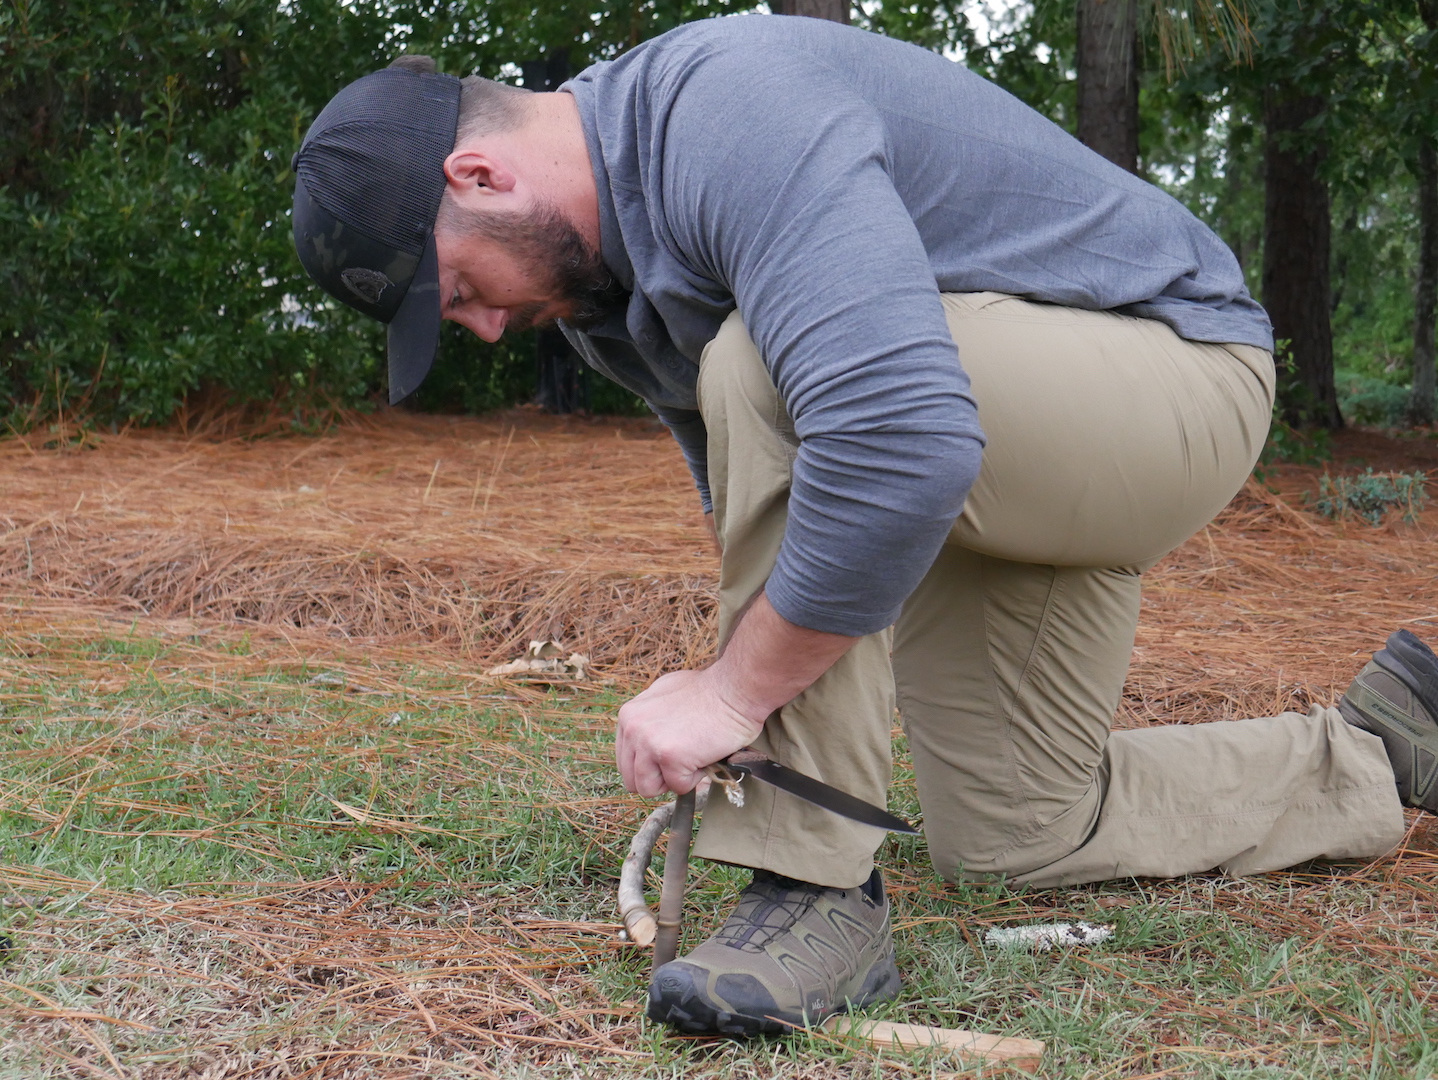
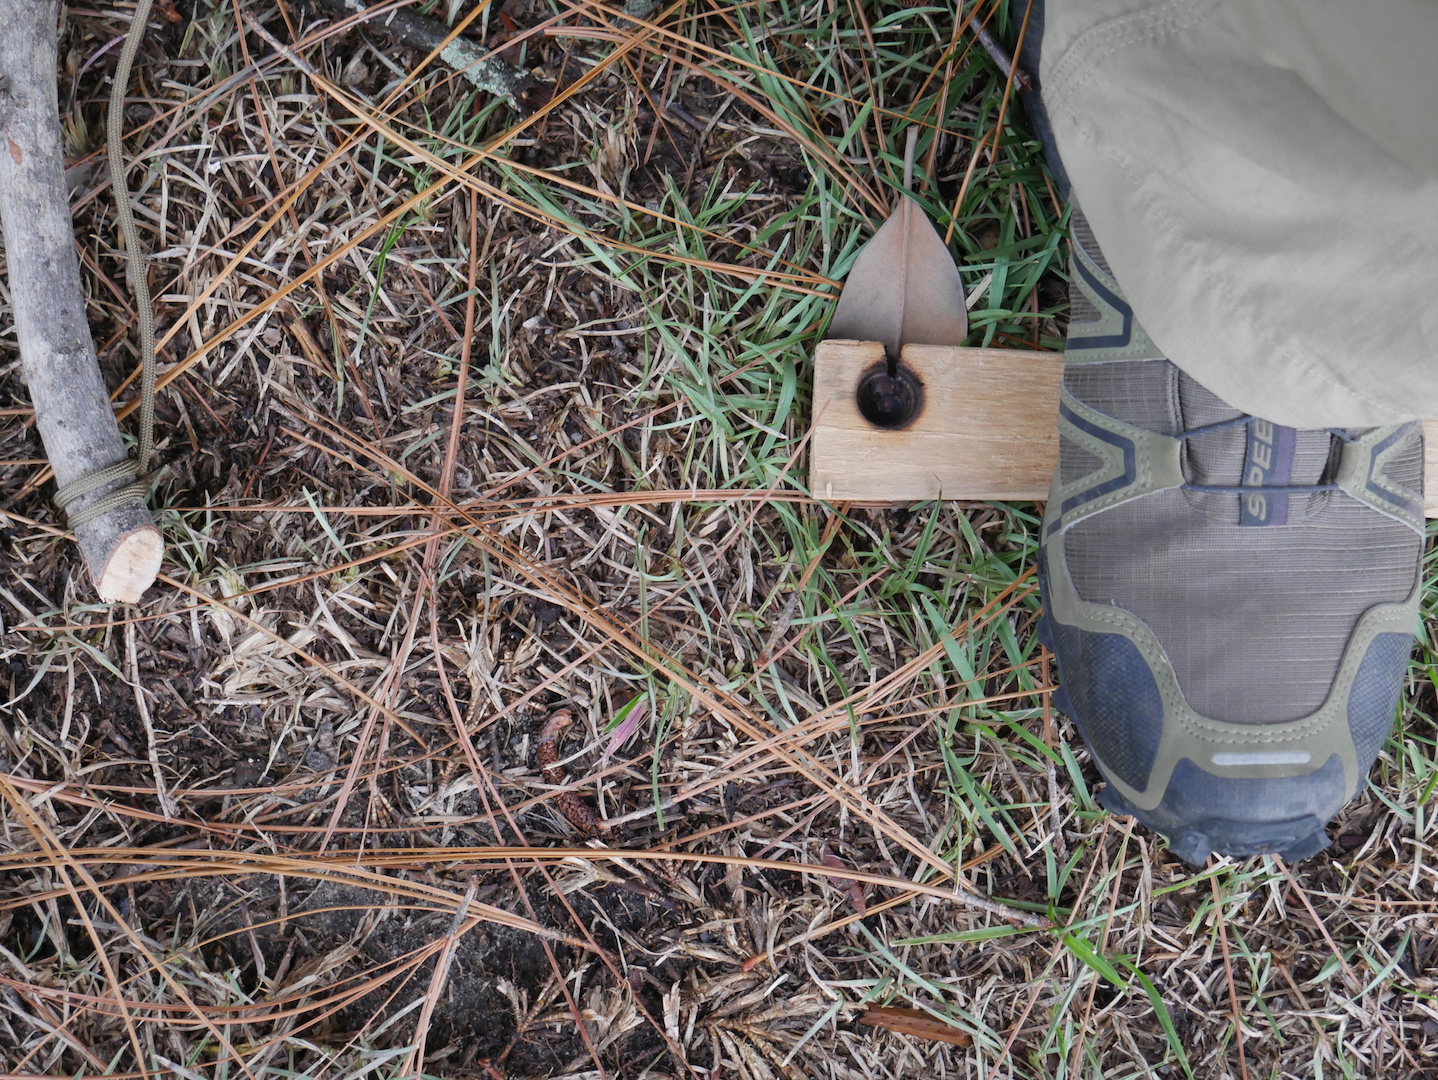
3. You will need to keep the proper form with your wrist “locked” into your shin and shoulder resting on your lead-leg knee to provide downward pressure onto the spindle
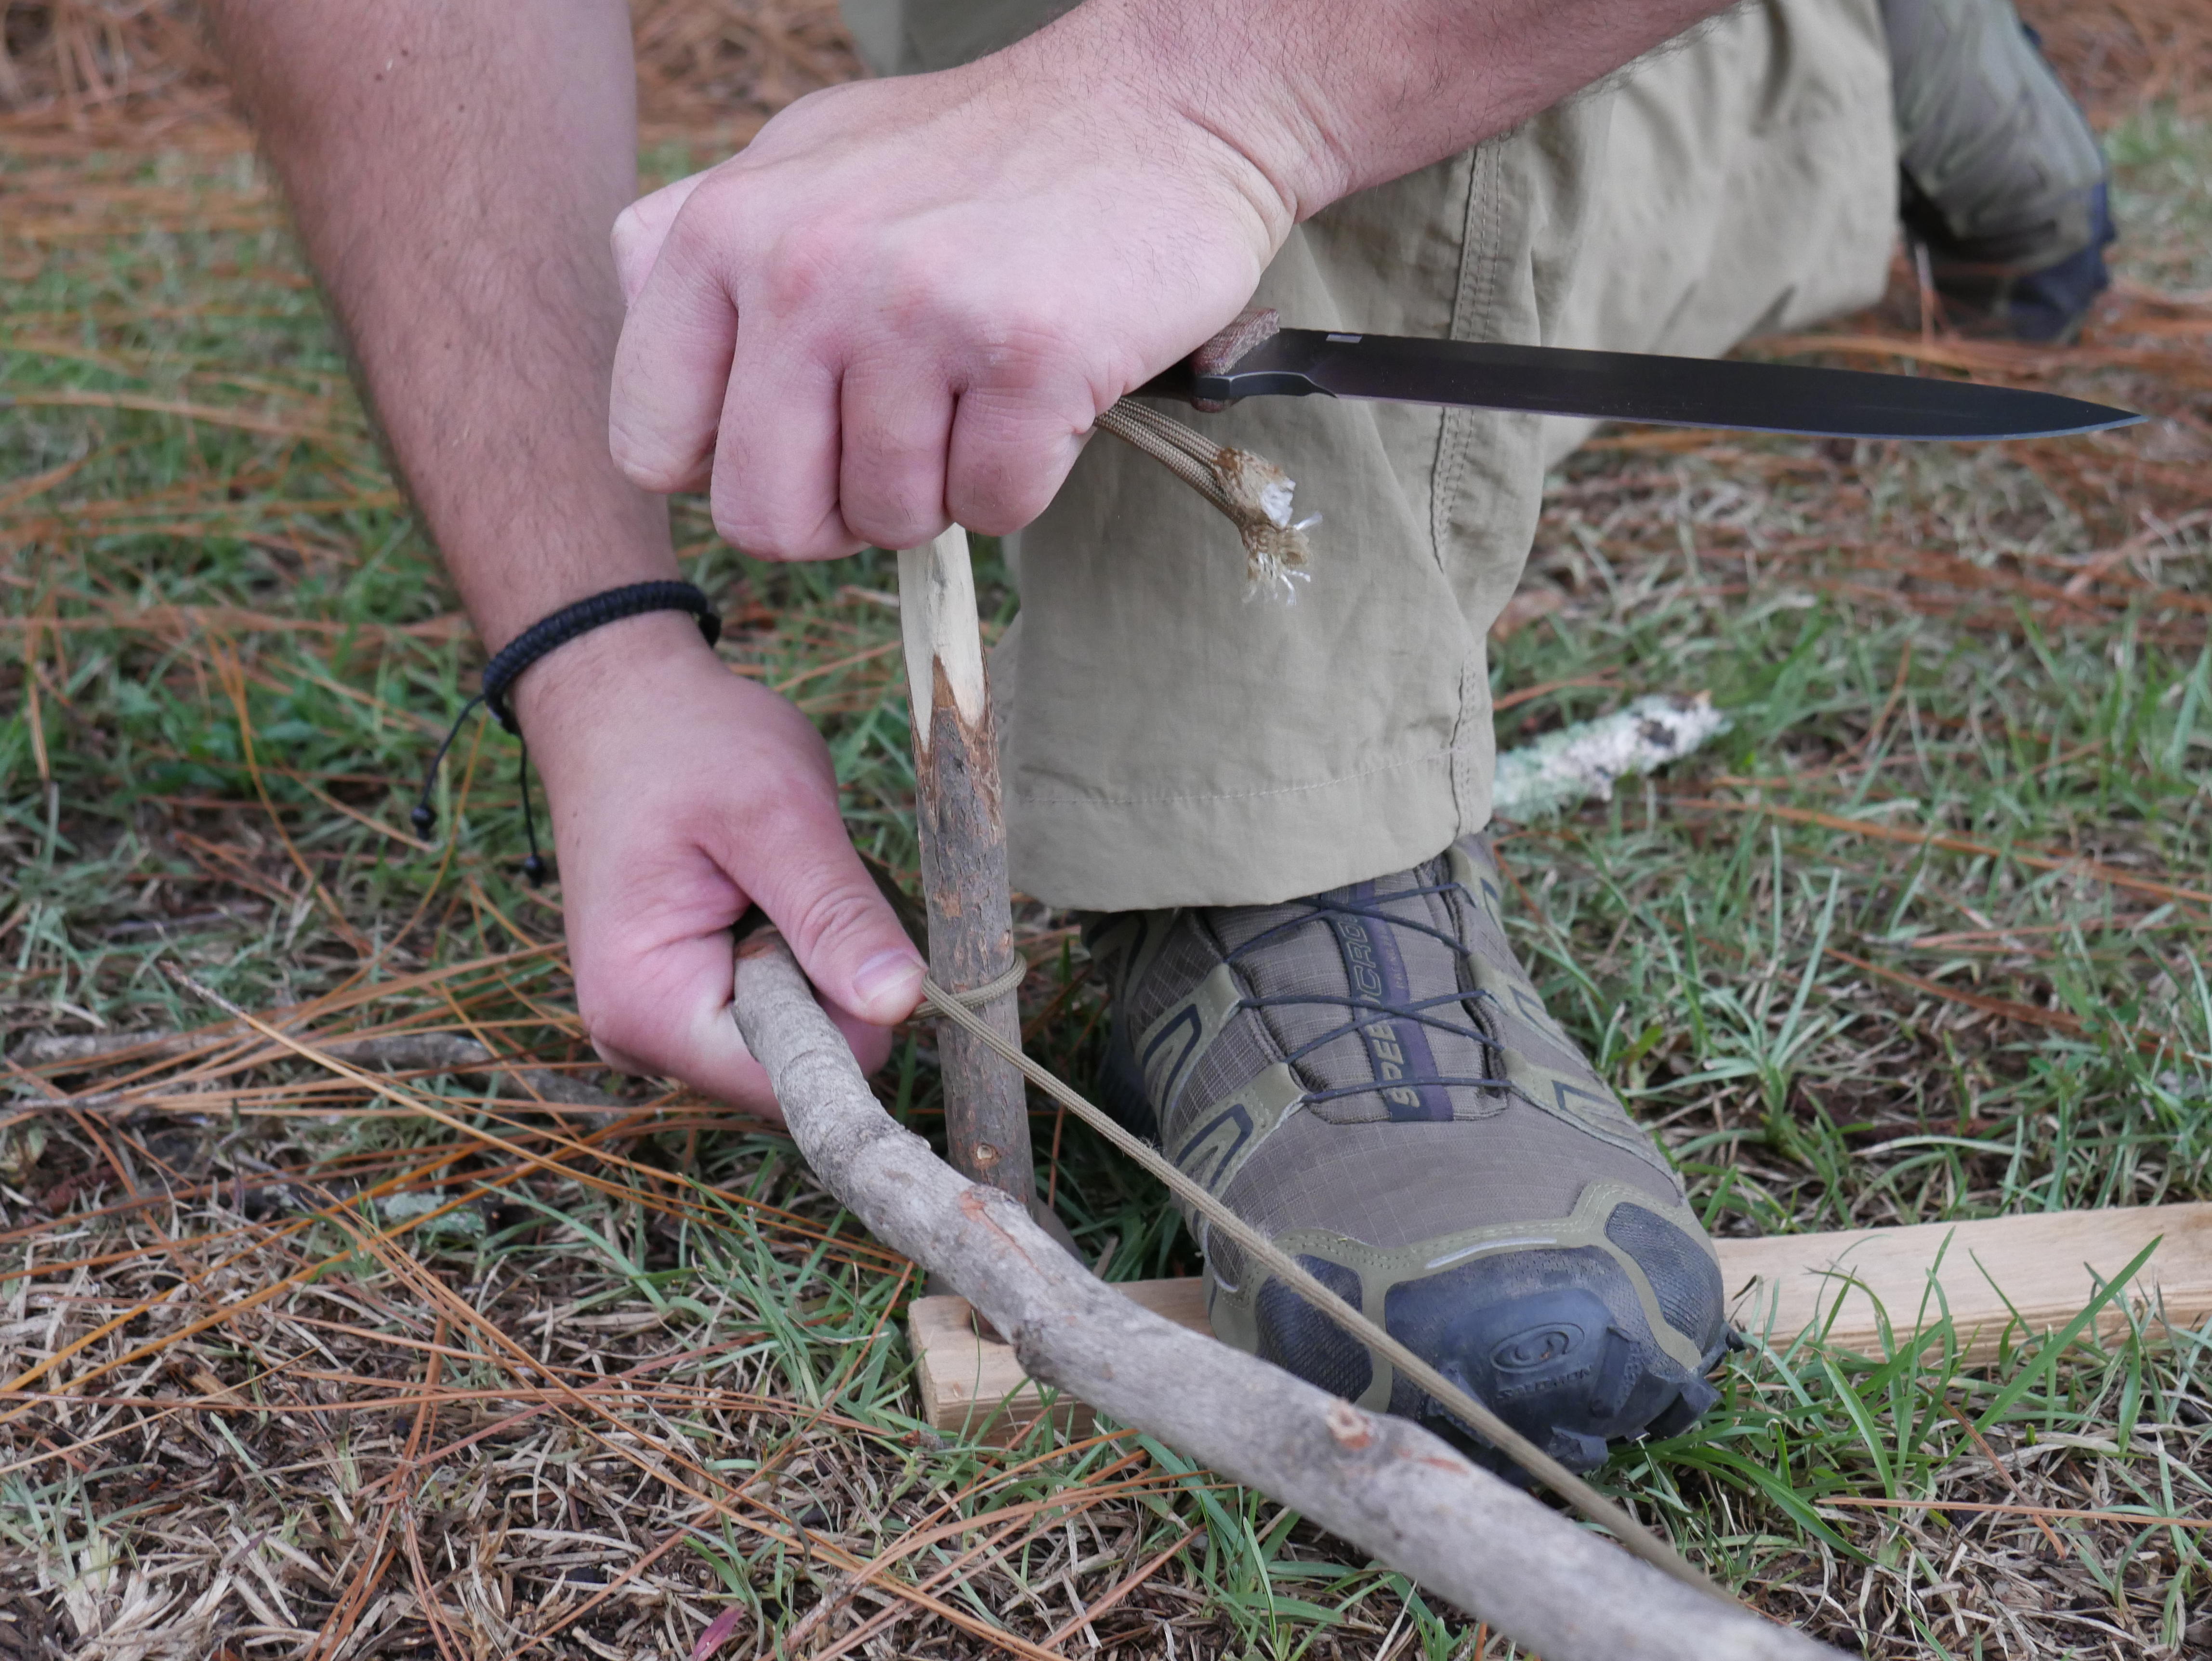
Keep your back-leg knee on the ground behind your lead-leg heal
4. Place the spindle in the board and start the action of the bow drill. This is a back-and-forth” action with the bow. This will spin the spindle in a drilling motion into the board. Work the spindle until you have successfully "burned" in the divot. Your not trying to create a coal yet because you do not have the notch carved.
5. Next, you will want to carve a V-Notch into the fireboard. Your V-notch will be 1/8th of a piece of a pie and will come just to the halfway point of your divot. Make sure its carved all the way to the bottom of the board. The V-Notch will catch the dust you produce and the friction will cause it to create an ember.
6. Place tinder catch (leaf) under v-notch with foot near burn in
7.Start your bow drill action as you did to make the burn in and until you see smoke.
8. Once you see smoke, speed up the action and apply more downward pressure for another 60 seconds. At that point you should have a nice coal formed.
9. Pick up your fireboard being careful not to disturb your ember. I like to knock all remaining dust from the board onto the coal. At this point your coal should burn for a while so don't panic and don’t rush.
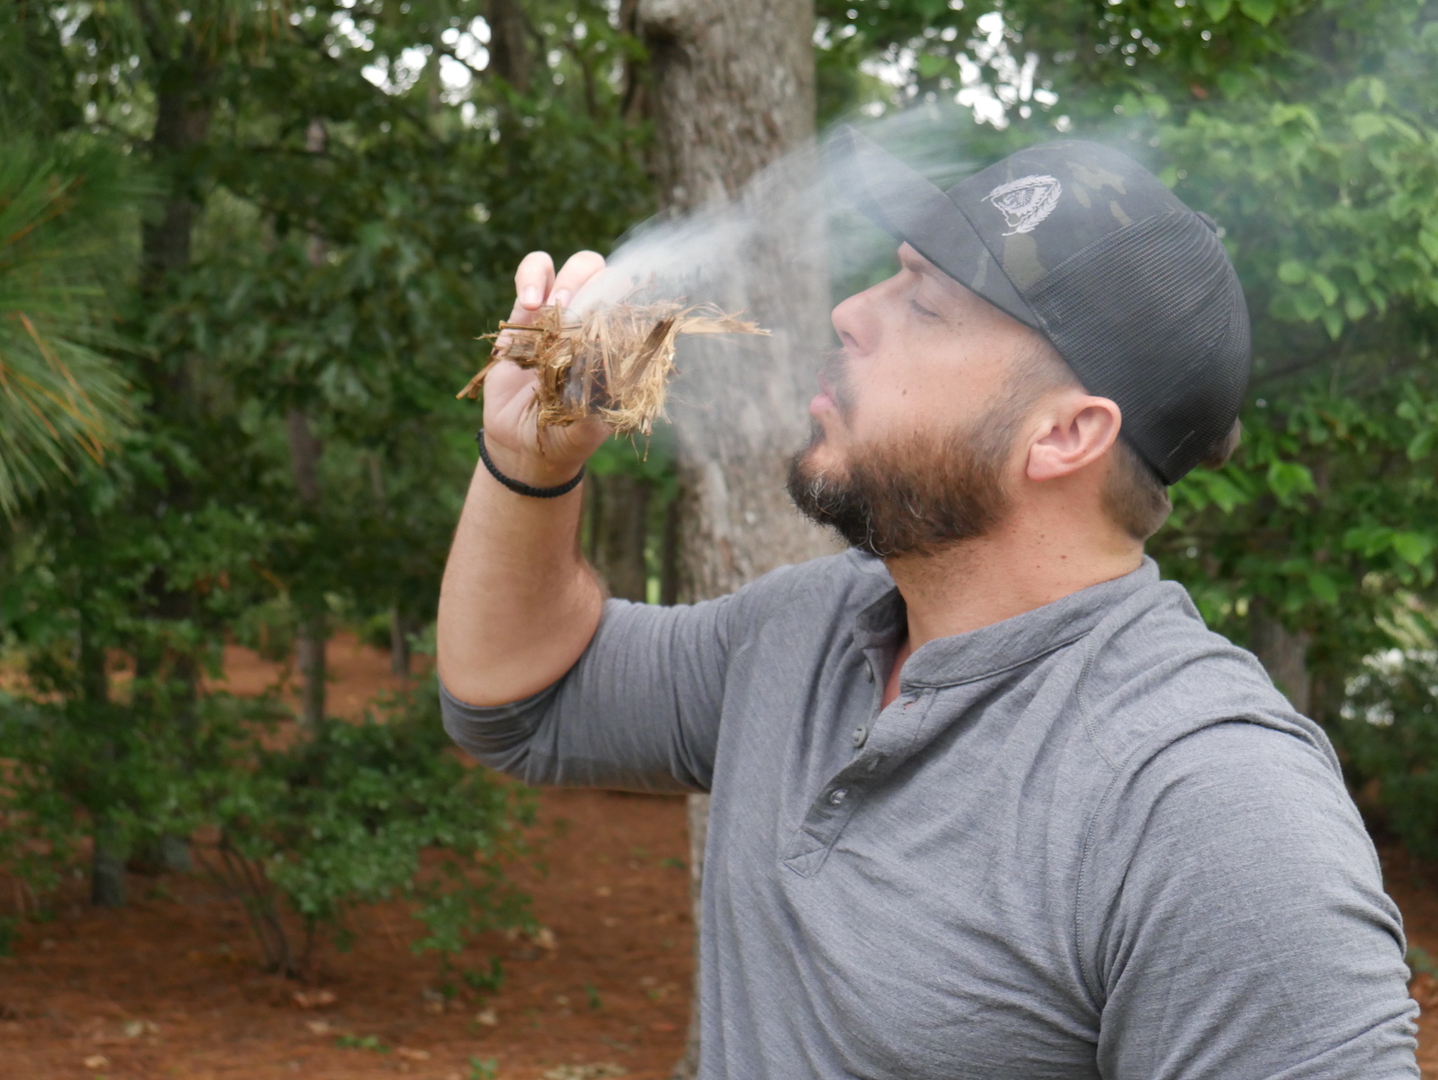
10. Dump your coal into your bird’s nest and start blowing gently to give it oxygen. Once your coal gets enough oxygen the fluffy parts will catch fire. A good rule is the more smoke you see the more you blow. Place your flaming tinder under your prepared kindling and slowly feed it.
When first starting out with this technique, you will want to practice in perfect conditions. Once you have that mastered, move into more austere environments like rain and cold. Generally when you need fire most of the conditions will suck. Training like you would in a real life situation will make you better prepared.
WOODS GREAT FOR BOWDRILL
- TULIP POPLAR
- COTTONWOOD
- CEDAR
- ASPEN
- YUCCA
- WILLOW